Configuring single sign-on in Network MDM
Only Network MDM administrators can set up single sign-on for a Network MDM instance.
To configure SSO, you must:
- Obtain IdP information
- Enable SSO for your Network MDM instance
- Enter IdP details in Network MDM instance
- Register Network MDM as an service provider for your IdP
- Create the SSO security policy
- Provision users to use SSO
- Obtain IdP Information
You need the following information from your identity provider:
- Identity Provider Certificate file: This contains the public key for your identity provider in X.509 certificate format.
- Issuer: This is used to identify the issuer of SAML assertions. It may be the Server URL of the identity provider.
- Identity Provider Login URL: This is the redirect login URL for Network MDM that is typically generated by the identity provider when registering Network MDM as a service provider.
- Identity Provider Logout URL (optional): This is the URL of the page that Network MDM should redirect the user to when logging out of Network MDM. By default, Network MDM will redirect to a static page with a logout message.
- User IDs: These will need to be mapped to Network MDM user names.
- SP-Initiated Request URL: This is the request URL for HTTP binding.
Enter IdP details in Network MDM
To access the Single Sign-On Settings page, click Admin > Settings > SSO Settings.
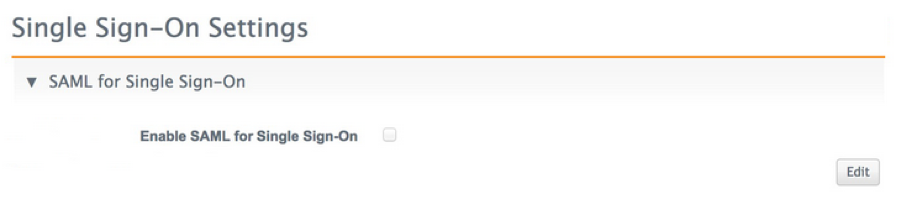
Configure the following required settings on this page using information provided by your Identity Provider:
- SAML User ID Type: - Choose Network User Name or Federated ID. Learn about these options below.
- Issuer IdP Certificate - Upload the certificate file provided by the IdP.
- Identity Provider Login URL - Type the redirect login URL for Network MDM.
-
Identity Provider Relay State URL: RelayState is a parameter that defines where identity providers (idPs) send users after they authenticate. By default, the URL is automatically generated but you can define a custom URL. Custom relay state URLs must contain {NetworkToken}.
Example custom URL
https://verteo.myidp.com/app/veevanetwork832101_mynetwork_1/exkfi8zpxwlK9gIK70h7/sso/saml?returnurl={NetworkToken}Network uses the custom URL during authentication and replaces {NetworkToken} with a specific URL or token to direct the user to the correct place.
- Enable SAML SP-Initiated Single Sign-On: (Optional) Select the checkbox to enable service provider-initiated single sign-on.
If needed, set these optional settings:
- Identity Provider Logout URL
- SP-Initiated Request URL
Microsoft ADFS example
The following is an example of setting up SSO with Microsoft® Active Directory® Federated Service (ADFS). The example includes the issuer and the IDP URL that can be found in ADFS.
Issuer
http://adfs.verteo.com/adfs/services/trust
IDP URL:
https://adfs.verteo.com/adfs/ls/IdpInitiatedSignOn.aspx?loginToRp=verteo.veevanetwork.com
In order to pass relaystate correctly to ADFS from Network MDM, a custom relaystate URL must be provided. This is an example of how this can be done through Network MDM.
Custom RelayState URL:
https://adfs.verteo.com/adfs/ls/idpinitiatedsignon.aspx?RelayState=RPID=verteo.veevanetwork.com&RelayState={NetworkToken}

Identity provider button
You can also define and enable a login button for the specified identity provider. This feature is available if at least one user in the Network instance is using a SAML security policy.
- In the Identity Provider Button section, select the Use Custom Login Button checkbox.

- Select a logo image to appear to the right of the button text.
- Select the fill color of the button, the border color, and text color.
- In the lower right corner of the page, click the Save button.
The Network MDM login page will display an additional button to log into the identity provider.

Configure automatic creation of user accounts
The Auto-Creation of User Accounts section on the Single Sign-On Settings page enables creation of multiple standard user accounts in Network without the time consuming process of creating individual accounts manually. Administrators can map the Network attributes to the SAML attributes so when a new user tries to access Network, the mappings are used to create a standard user account.

When you enable this feature, you can configure the following information for automatically created accounts:
- Mappings between Veeva attributes and SAML name attributes - first name, last name, federated ID, country, and email.
- Data visibility profiles. The country value in the SAML drives the data visibility profile (DVP)
 A user-assigned profile that contains permissions and the profile layouts that are used when viewing HCP or HCO records. assigned to a user. For example, if the country value is “US,” then a US data visibility profile is assigned to the auto-created user. If the country value is “US, UK,” then both the US and UK data visibility profiles are assigned to the auto-created user.
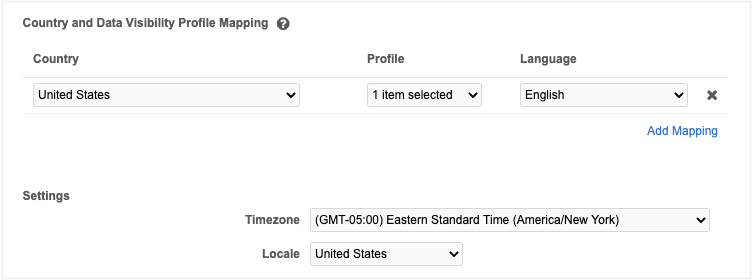
- The default user time zone, language, and locale.
Map countries and data visibility profiles
You can define mappings between countries and data visibility profiles for automatically created users.
For example, if a mapping exists for the US to the data visibility profiles for the US and China, automatically created users will have both data visibility profiles.
To define mappings:
- Under Country and Data Visibility Profile Mapping, click Add Mapping.
- Select a country from the Country drop-down list. You can begin typing a value to see auto-complete options in this field.
- Select one or more data visibility profiles from the Profile drop-down list and click the Done link. You can begin typing to see auto-complete options in this field.
- Select a language for the mapping.
Register Network MDM as an SP in your IdP
Your identity provider may need the following information:
Network public certificate file: This contains the public key information for Network MDM.
Entity ID: This is a unique name to identify Network MDM to your IdP. Typically, this is your Network MDM domain name. Example: veevapharm.veevanetwork.com
Destination URL: This is the SAML ACS endpoint in Network MDM. It is a generated field displayed on the Admin > Settings > Single Sign-on Settings page. The field is called Network SSO Login URL.
Postback URL: This also uses the Network SSO Login URL.
Service Provider SAML Attributes:Network MDM accepts a single attribute called “uid” for passing the user name to be used for SSO. The value you pass depends on the SAML User ID Type setting you have chosen (Network User Name or Federated ID).